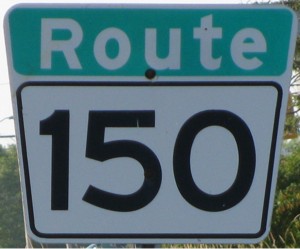
Metro Route 150
 |
|
Pictures are arranged from north to south. Click here to show the route.
;)
| Route 150 ends at Route 52 (St. Mary's Road). Click here for Route 52 images. | ||||
| PTH 1 follows Route 150 from St. Mary's Road to Fermor Avenue. Click here for PTH 1 images. | ||||
| Location | Description | Photo
| ||
| City of Winnipeg |
Northbound view near Stranmillis Avenue showing the marker indicating the end of Route 150.  Photograph taken in April 2010. |
;) |
||
| Route 150 meets Route 135 at Fermor Avenue. Click here for Route 135 images. | ||||
| City of Winnipeg |
Northbound view approaching Niakwa Road. Photograph taken in June 2014. |
;) |
||
| City of Winnipeg |
Northbound view approaching Bonita and Havelock Avenues. Photograph taken in June 2014. |
;) |
||
| City of Winnipeg |
Northbound view at Sadler Avenue. Photograph taken in June 2014. |
;) |
||
| Route 150 meets Route 165 at Bishop Grandin Boulevard. Click here for Route 165 images. | ||||
| City of Winnipeg |
Northbound view showing the advance signage for Route 165. The spacing between the numbers is much wider than on any other marker in Winnipeg. Photograph taken in December 2012. |
;) |
||
| City of Winnipeg |
Southbound view at Wales Avenue. Photograph taken in August 2009. |
;) |
||
| City of Winnipeg |
Southbound view at Warde Avenue. Photograph taken in August 2009. |
;) |
||
| City of Winnipeg |
Southbound view south of Aldgate Road nearing the end of the divided highway. Photograph taken in April 2010. |
;) |
||
| City of Winnipeg |
Southbound view south of Aldgate Road at the end of the divided highway. Photograph taken in August 2009. |
;) |
||
| City of Winnipeg |
Southbound view showing the marker indicating the end of Route 150. Photograph taken in August 2009. |
;) |
||
| City of Winnipeg |
Northbound view near Creek Bend Road. Photograph taken in April 2010. |
;) |
||
| City of Winnipeg |
Southbound view approaching PTH 100. Photograph taken in August 2008. |
;) |
||
| Route 150 ends at PTH 100. Click here for PTH 100 images. | ||||
© Curtis Walker. All rights reserved. All pictures used on this site are the property of the respective photographers and are used by permission. No picture may be used without the consent of the respective photographer.
All pictures taken by Curtis Walker unless otherwise noted.